Step 1: Open your course or start a new one
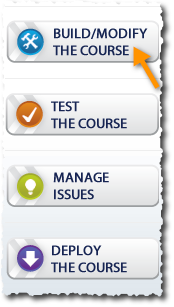
The first step is to open a course you want to create the link in or start a new course. Go into the "Build/Modify" area of the course.
 Step 2: Add a definitions page
Once you have your project up, next you want to add a definitions page to your course. You can place this page anywhere you want in the course. My example course will just have one page for now.
The definitions template is in the "Other" category when you are adding a new page. Once you are in that category you will see the "Definition" page.

After you have selected the image click on "Add Selected Label"
 Step 3: Input your content
At this point we'll want to input the content simply by completing each step within the template. Step 1 in the form is as simple as any other page in Unison, you just need to enter in a title for your page.
 Step 4: Instructions
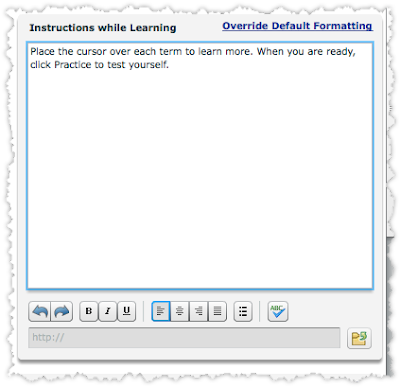
The next step in the page template (Step 2) is the area for the instructions. There are two sets of instructions, one is for the learner when they are learning the interactions. This is the first area that the end user sees so this usually is something like "Roll over the terms to learn". We have already filled out some default text for you, you can simply leave it or change it to whatever you want.
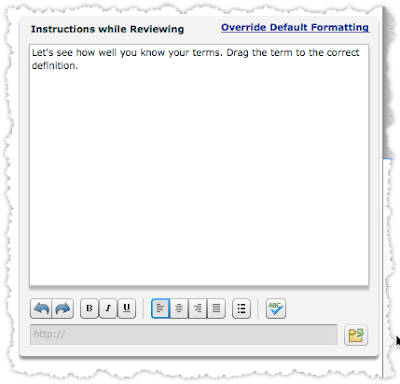
 If you scroll down from there you can see the other set of instructions for the learner when they are reviewing the terms. "Review the terms" is kind of a test for the learner to see if they remember which term matches up with the appropriate definition. This is a drag and drop exercise for the learner. Just like the previous instructions, we have already typed in some default instructions, you can modify that or change it to your own.
 Step 5: Adding your terms
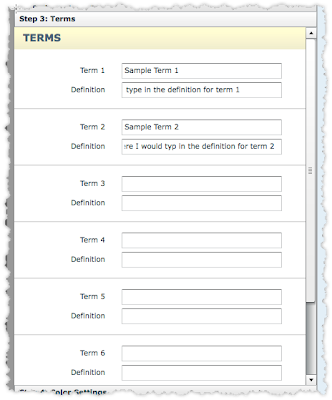
Going on to the next step in the form (Step 3), this is where you add your terms and definitions. With the terms and definitions page you can add up to seven terms and definitions. You do not need to use all of them so only enter the amount you want to use for this page.
It is as simple as filling out the text field for the term and then for the matching definition.
 After you are done with this you can go onto the next step.
Step 6: Adjusting the colors
The next step in the form is the color settings (Step 4). In this part you have three color sections. The first section is the terms color.
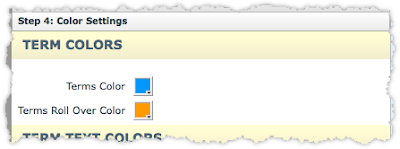 You have two settings, one is the terms color. This is the color of the terms before you roll over them during the learning phase. It is also the color of the term during the reviewing phase.
Term when learning:
 Term when reviewing:
 As you can see in these two different states it is the same color. The next part is the roll over color for these terms. This color is only when learning the terms and not when reviewing the terms.
 You can leave the default color or change it to whatever color you want.
The next section in the color settings is the color of the terms. You can see you can change the color of the text here.
 The last section in the color settings is the button colors. You can change the color of the buttons of both the standard color and the roll-over color.
 Step 7: Preview your course
Once you have built your course, the next step is to preview and publish! Hopefully after this tutorial you will be able to easily set up an interactive definitions page for your learners.
Feel free leave your comments below or email our support team at support@rapidintake.com.

No comments:
Post a Comment