
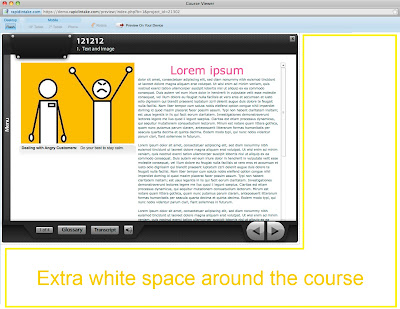
Have you or your learners noticed that often times the course does not take up the entire screen? Are you tired of seeing extra white space around the course?
White Space Before:
Full Screen After:

You can easily stretch your course to full-screen by making simple changes to one of the course files.
How?
- The course first has to be finished and deployed. Locate the zipped file on your computer of the course you would like to make full screen.

- Unzip the file.

- Open the course folder and look for the file called "ie_activecontent_fix.js"

- Open the file in a text editor, like Notepad++ or Textmate (not Microsoft Word). Locate the dimensions for width and height. Your course will look similar to the example below:

- Change the width and the height in both places to "100%." Make sure you only delete the numbers in the quotation marks, not anything else.

- Save the changes you have made, zip up the course, and you are ready to publish the course to your LMS!
Note: In some cases making adjustments to a course size will cause pixelization of page images. Most courses will adapt without problem, but some courses will reveal pixelated images on large monitors.
In Rapid Intake, when you choose a course 'style', you choose to target either larger or smaller course styles. Some smaller ones are targeting 800x600 screens. If you start with that size of course, you'll run into more of the pixelation issues. So if you're going to make this modification, I suggest starting with a larger course size--as large as possible.
ReplyDelete